Thursday, November 18, 2010

The Bug's Bedroom Makeover

My DD just turned 2 in October and I was determined to get her moved out of our bedroom where she has been since she was born. We only have a 3 bedroom house and my son has his own room and with my sewing projects and just overabundance of crap that we were storing, I had filled the third bedroom. So i gave up my 'sewing room' so my Bug could have a room of her own. Here is how it was painted before...


Yes it was a baby boy's bedroom. I still can't get over why the people we bought the house from painted the entire interior of the house with FLAT paint...when they had kids. You can't clean flat paint btw. Marker, pencil, crayons, fingerprints, food, you name it, it will not come off.
Anyways, I got all my fabric and sewing notions all tubbed up and stored in the garage and prepared to turn the room GIRLY. I had been drooling over a comforter set for her for a long time with no hope of ever owning it myself because of its ungodly pricetag, when one day I got this bright idea to google. So I did...and low and behold I found it on a website for a fraction of the retail cost...like a MINISCULE fraction, so I bought it for her birthday. The Twin set retailed for $265 and I scored it for $48...the entire set. Sheets, shams, dust ruffle, EVERYTHING. Sorry guys, they are all sold out now on the bargain site (I just checked).
So once the set arrived, I started paint hunting. I knew I wanted her room pink with a darker shade on the bottom and light pink on top. It was HARD to match these colors believe it or not but I did it...with a little oops thrown in in the beginning.


The pink looked darker to me than the light pink I imagined. My MIL was here visiting and keeping the kiddos out of my hair while I attacked this room and she kept reassuring me that once we got it all on the walls, it would look great. So I kept going, and soon the forboding feeling of swimming in pepto over took me. It didn't get better once I got the dark pink up, it was sickeningly overwhelming.


See what I mean. So back to the drawing board. I went back to Lowes and took a pillowcase with me to match up and FINALLY found ONE shade of pink out of all of their options, that even came close to matching...and it was perfect. So, another gallon of paint later, I began fixing "The Bismal". I'll explain that one later.


Much better.


Awww...her first big ole nap in her new bedroom.


Now, I plan to build her the Bankable Bookcase Knock-off and a Twin sized Farmhouse Bed with a Trundle for when my niece comes to visit, or if I ever need to stay in there with her.
Once I get her a twin sized bed, (yeah we still don't have the comforter set put to use because we don't have a twin sized bed...YET), I will be building her 2 cubbie shelves that when placed back to back, will be a perfect fit for her toddler mattress to become a little lounging/reading space, or just a place to sit. If we ever decide to get rid of the mattress, the shelves can be stacked and I will have 4 large cubbies to put stuff in. But since she is still a tiny thing, we aren't in a big hurry to get the bed built...the bookcase yes, but not the bed. But first my son has requested we fix his room up the way he wants it for his Christmas present.

*Regarding "The Bismal", my mom had once attempted to paint her bedroom mauve and I think she bought the exact same shade of pink that I originally used on the top half of this bedroom. Her room was dubbed "The Bismal" since it was Pepto-Bismal pink. We teased her and teased her..even after it was repainted light purple, we still teased her. I could just hear her laughing her head off at me from the Great Beyond while I was making the same oops with my daughter's room, that she made with her own. I just wish she were here to laugh at me for real.
Wednesday, November 17, 2010

Doors

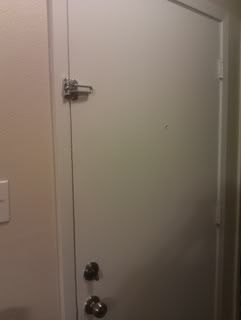
I have had 2 little projects floating around my dining room table for a couple of weeks now. I bought a latch for the front door to keep the kids from answering the door everytime the doorbell rang when I am in the shower. Its happened a couple of times. Plus its a little more added security. But before I could install it, I had to finish painting the inside of the door which I did today as soon as the baby went down for a nap. That is also how I got started on the trim in the bathroom. I already had the paint open and no kids to bug me or tough everything so I tore into it and it looks great.
So anyways, here's the front door now.

Photobucket

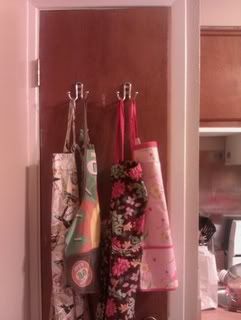
So once I was finished hanging the latch, I went ahead and installed the 2 coat hooks on the pantry door in the kitchen. We had 3 aprons hanging from a measly little cup hook and it was ripping a hole in the door from the weight. I found these 2 coat hooks that I had purchased several years ago and just never used, so today they got used.

Photobucket

I'm planning on painting the pantry door white too in the near future too but I need to finish the rest of the projects I've started before I take on something else.

The bathroom (and my ADD)

This project started a LONG time ago! Like well over a year ago. When we bought the house the one and only bathroom was pink. Not some pretty happy pink either. It was gag a maggot mauvey pepto pink.


So that was the two-toned before picture. Then I primed the walls and painted the front half of the bathroom a dark tan that was left over from the kitchen, but we ran out so the back half of the bathroom was left white (primed) for over a year. So i started messing around with the green and kinda liked it so I figured for a $5 gallon of oops paint from Lowes, I could live with seafoam green in my bathroom. I've been wanting to change the color scheme for a while anyway and this was a good start.


This shows the tan color on the left side of the picture. It's gone now.


And this is the finished product (except for the white trim).


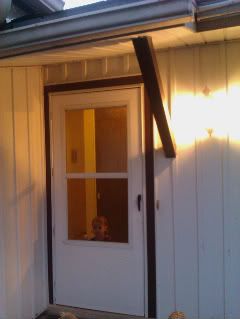
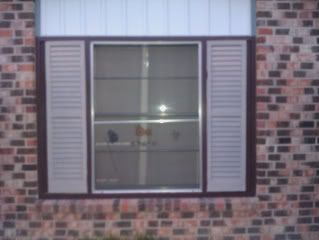
Today I did the final retouches on the green walls and did the first coat of white semi-gloss on all of the trim. I also have a set of 3 crosses that my bestie bought for us as a housewarming gift when we first moved in here that I had put in the bathroom above the mirror, but they were red. Not a good match for the new green walls. I decided I wanted to paint them a dark chocolate brown so they would look better in there and I just happened to have a $2 qt of oops paint in that color. So this afternoon I took them out to the driveway and brushed on 2 coats of brown paint. Now this paint was originally purchased for the trim on our house since it is exterior paint. I have had it for a year now and haven't used it yet except for one test spot which looked great. Soooo...while I was waiting for the paint to dry, I thought, 'why not do a little painting around the front porch...its small enough?!' So I did. I got the trim around the front door painted and this angle post thing too. It didn't take long at all so I figured I could at least get started on the front window trim before it got too dark.

PhotobucketPhotobucket

Tomorrow morning once it warms up, I'm gonna see if Hubby can drag the huge ladder around so I can reach the 2 really tall pieces of trim. I'm going to have to get another can of paint though to do all of the gray trim around the roof of the house so right now I'm just targeting the windows and doorways. I'm also going to finish painting the shutters to match. I wish I had thought to take a picture of the pale sickly gray color that was on the house already. I'll try to remember to take one of the other front window before I start painting on it tomorrow.
So that's where I got all distracted and carried away painting the house when I was supposed to be working on the finishing touches on the bathroom. The crosses look awesome and will look even better once I get the dark java stain on the vanity. SO my bathroom colors are going to be seafoam green and dark chocolate brown. Now I just need to buy the new brown towels and a shower curtain because the baby blue one looks terrible up against the new paint job. Maybe for Christmas.

The coat closet redo

Today I decided it was time to finish up some little projects that had been sitting around needing to get done, but I just wasn't taking the time to stop and do them.

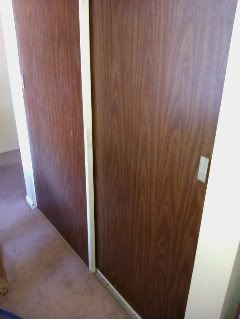
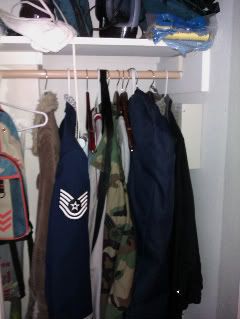
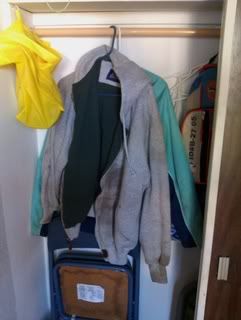
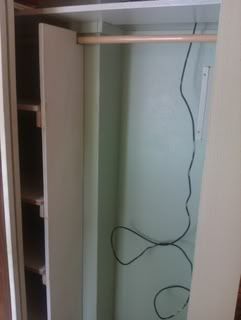
A couple of weeks ago I was inspired to redo our coat closet. It is comprised of ugly sliding doors, floor to ceiling, on the right side there is about 2 feet of space that can be used to hang coats and from there to the left side of the closet, the back wall is set halfway to the front of the closet so you can't hang anything else. It was just a bunch of wasted wall space. Thanks to Ana White and her closet organizing plans and getting bitten by the organizing bug at iHeart Organizing, I decided to come up with a shelf system that would work for that space.
PhotobucketPhotobucketPhotobucketPhotobucket
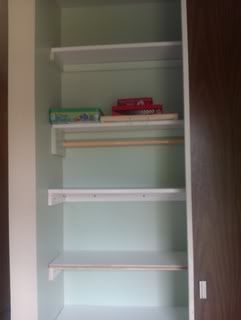
So I did. I measured and decided how many shelves I wanted and how far apart they needed to be to handle some of our oddball sized books that won't fit anywhere else. So I attacked it one Saturday afternoon in the driveway, made all my cuts on my new miter saw, sanded everything, put on a couple coats of paint and left them to dry. Sunday morning, I painted the inside of the entire closet with an oops color from Lowes. Its more or less a seafoam green but with the hall lighting it looks more sage so it works for me. Once dry, I began to measure and install the shelving and within an hour I had an additional 10 feet of storage space in my house. Now I just need to get some bins and get everything that's in there organized and labeled for easy locating.
PhotobucketPhotobucket
Once I get everything where it belongs, I will post pictures of the final product.

I've taken over his tools

Well this year I turned 30 and made a middle-of-the-year New Years resolution to be less fearful of things, or at least to attempt to do things I have previously been too chicken to do. The first thing I did when I made this new resolution was this...

See, I am deathly afraid of snakes and Hubby and I were going to this wildlife sanctuary in Tuttle, OK and you could hold the snakes. We went there about 6 years ago and at the time, you couldn't pay me to even touch it, much less hold the thing. So I figured now that I'm 30 and all grown up, I might as well make an attempt at bravery. I was successful. YAY! Hubby was so proud.

So about a month later, I was online searching for something and came across a link to a site called Knock-Off Wood. Out of curiosity and full blown mommy brain, I cannot for the life of me remember what I was originally googling because this site sucked me in and I haven't been the same since. You see, it was this gorgeous sahm/wife who was building her own furniture and putting the plans on her site with super easy directions so that you can build it too. Never in a million years would I have ever thought it was possible for ME (a scardy-cat girl) to build furniture...like with power tools and saws. I've always been terrified of saws. But I LOVED this furniture she was building and wanted to make some of it myself. I figured if she could do it, then so could I. Boy did she create a monster. Hubby decided he would let me give it a go, so he showed me how to use his table saw and off I went. And I was pretty darn good with it. He was so impressed that he finally went out and bought me a belated 30th birthday present...a sliding compound miter saw. Now I use his tools more than he does. He is so screwed.